


 Your new post is loading...


Can the Raspberry Pi 400 board be used for Machine Learning? The answer is, yes!
TensorFlow Lite on Raspberry Pi 4 can achieve performance comparable to NVIDIA’s Jetson Nano at a fraction of the cost.
Method #3: Build from Source
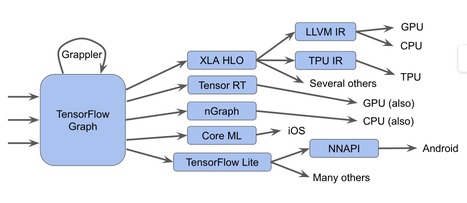
Packaging a code-base is a great way to learn more about it (especially when things do not go as planned). I highly recommend this option! Building TensorFlow has taught me more about the framework’s complex internals than any other ML exercise.
The TensorFlow team recommends cross-compiling a Python wheel (a type of binary Python package) for Raspberry Pi [1]. For example, you can build a TensorFlow wheel for a 32-bit or 64-bit ARM processor on a computer running an x86 CPU instruction set.
Before you get started, install the following prerequisites on your build machine:
Next, pull down TensorFlow’s source code from git.
$ git clone https://github.com/tensorflow/tensorflow.git$ cd tensorflow
Check out the branch you want to build using git, then run the following to build a wheel for a Raspberry Pi 4 running a 32-bit OS and Python3.7:
$ git checkout v2.4.0-rc2$ tensorflow/tools/ci_build/ci_build.sh PI-PYTHON37 \
tensorflow/tools/ci_build/pi/build_raspberry_pi.sh
For 64-bit support, add AARCH64 as an argument to the build_raspberry_pi.sh script.
$ tensorflow/tools/ci_build/ci_build.sh PI-PYTHON37 \tensorflow/tools/ci_build/pi/build_raspberry_pi.sh AARCH64
The official documentation can be found at tensorflow.org/install/source_rpi.
Grab a snack and water while you wait for the build to finish! On my Threadripper 3990X (64 cores, 128 threads), compilation takes roughly 20 minutes.
read the whole article with the other methods to achieve this at https://towardsdatascience.com/3-ways-to-install-tensorflow-2-on-raspberry-pi-fe1fa2da9104


